

Cookies have a special place in everyone’s heart, including ours. Even long before you bite into the soft, warm centre, the entire baking process is truly an experience in itself. But in order to enjoy a perfect cookie, you have to do everything right. And one of the most common issues that people have with baking cookies is not being able to tell whether they’re done or not.
Are they undercooked and gooey in the middle, or have they been left in the oven for too long, and they’re far too burnt & crispy to eat? Don’t worry my friend, we’re going to unravel this mystery for you. Here’s a list of our super-simple cues that will let you know when your cookies are done, how ingredients & temperature affect the final outcome, and the science behind baking perfect cookies every time.
How to Know When Cookies Are Done
Between choosing a recipe, shopping for the ingredients, preparing the dough (or using frozen cookie dough, let’s be honest, some of us are too busy to make cookies from scratch), and the baking times, you already have a few hours invested in the process by the time you pull the cookies out of the oven.
And finally, once you open the oven to pull out the cookie tray, the moment of truth arrives. Are they undercooked, raw, and doughy? Or are they overcooked, dry, and crispy?
Hopefully, neither. These are the simplest ways to tell if your cookies are perfectly done.
Easy to Notice Signs:
-
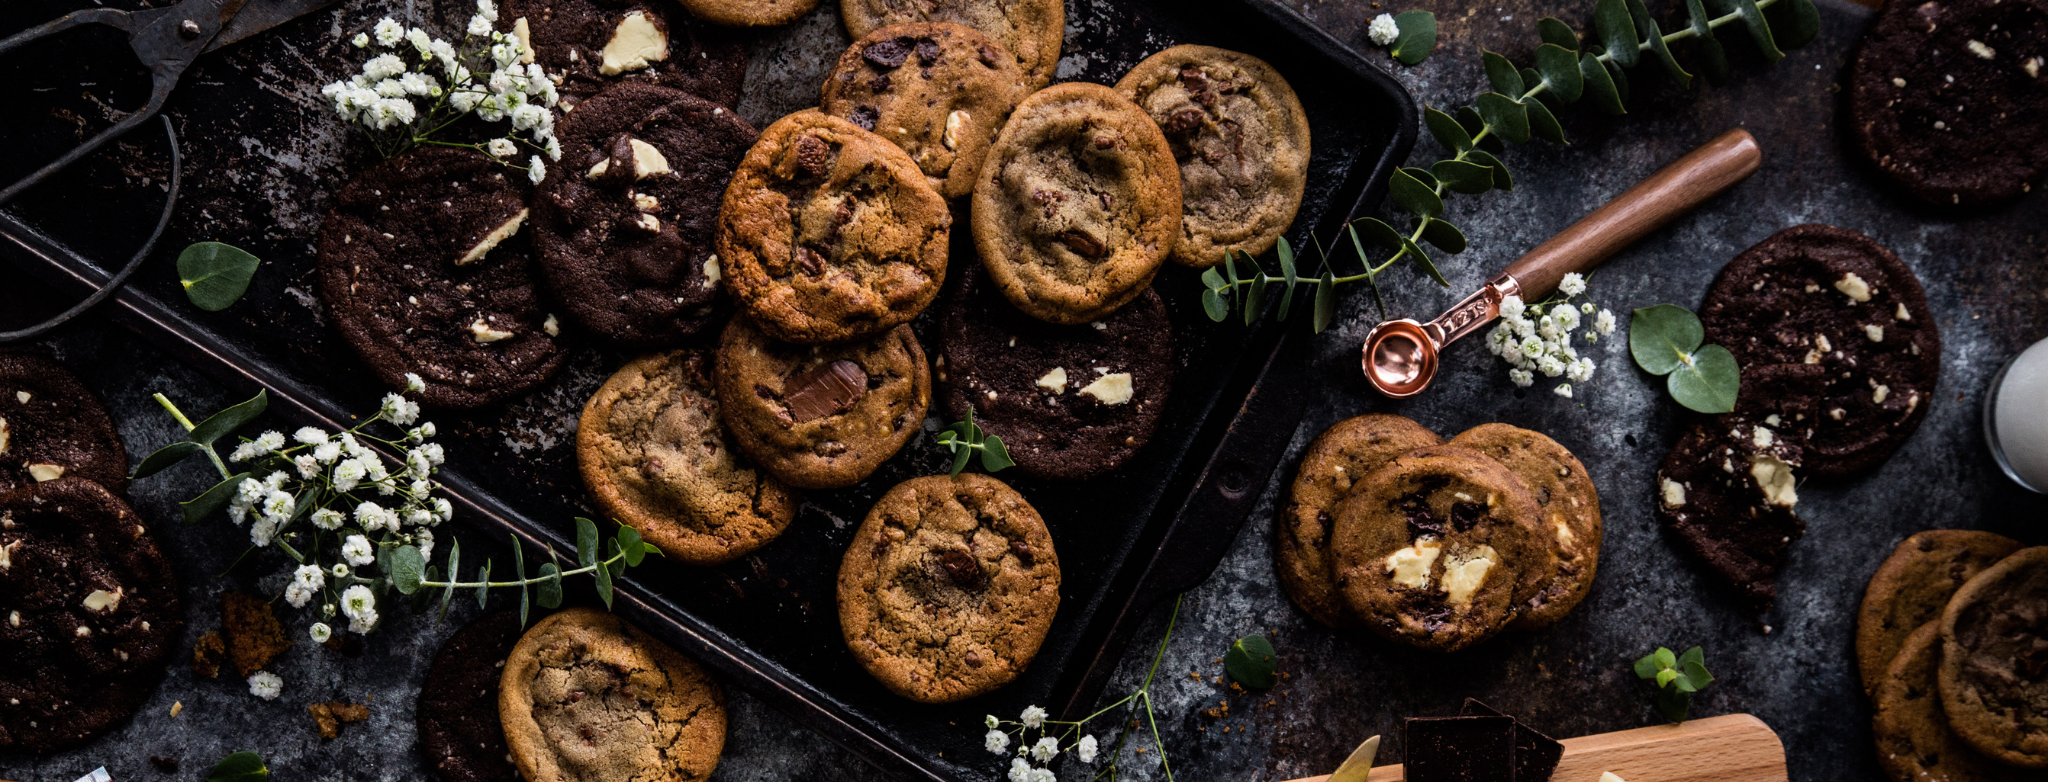
Golden Brown Edges – Check the edges of the cookies for a golden brown colour. This indicates that the cookies have caramelized and are likely done. However, keep in mind that different recipes may yield cookies with different levels of browning.
-
Set Centres – Gently touch the centre of a cookie. If it feels set and springs back slightly, it is likely done. Avoid pressing too hard, as this can deflate the cookie.
-
Light Cracking – Look for light cracks on the surface of the cookies. If you see them, the cookies have been baked long enough and are ready to be taken out of the oven.
Timing & Temperature
-
Recipe Guidelines – Follow the recommended baking time and temperature provided in the recipe as a starting point. You may need to adjust the heat and/or baking times based on your oven and taste preferences.
-
Visual Cues – Turn on the oven light to keep an eye on the cookies as they bake. They will go through stages of spreading, puffing up, and eventually settling. When they appear set and have achieved your preferred level of browning, they’re done.
-
Toothpick Test – This is one of the most common ways to check cookie doneness, and it can be used for many other desserts as well. Insert a toothpick into the centre of a cookie. If it comes out with a few moist crumbs clinging to it, the cookies are done. If the toothpick comes out wet or with raw batter, the cookies need more baking time.
-
Internal Temperature – Most cookies are done when the internal temperature reaches around 93-96°C (200-205°F ), so you can use an internal thermometer if you prefer.
-
Cooling Time – Remember that cookies will continue to cook slightly as they cool on the baking sheet. Remove them from the oven just before they’re “done” to account for this carryover cooking. Let them cool fully before storing them.
We’ve spent decades baking cookies at Felix & Norton, and have perfected our freshly-baked cookie recipe. But just like you, we use each of these tips & tricks to check if each batch is done. The best advice we can give you is to trust your instincts and consider your taste preferences to achieve the perfect outcome every time. You may have to experiment with different cooking times & ingredient ratios, but that’s the joy of baking!

Common Misconceptions About Cookie Doneness
As you learn to bake, you’ll realize that even when you think the cookies are done, they might not be completely done. This is common, but there are a few ways to prevent yourself from being duped again. Let’s debunk these myths:
Colour Equals Doneness
Misconception – Your cookies must be golden brown all over to be considered done.
Reality – While a golden brown colour is a good indicator of doneness, it's not the sole factor to consider. Different cookie recipes may have varying levels of browning due to differences in ingredients or desired textures.
Crispy Means Overbaked
Misconception – Crispy cookies are always overbaked.
Reality – Crispy cookies can be intentional and delicious, especially for certain types like lace cookies or biscotti. Achieving a crispy texture can be a result of baking time, temperature, and the ingredients used.
Firmness Equals Fully Baked
Misconception – Cookies that are firm to the touch must be fully baked.
Reality – Some cookies, like chewy or soft-baked varieties, may still be slightly soft in the centre when fully baked. And some people prefer soft and chewy cookies!
Cookies Must Be Fully Set in the Oven
Misconception – Cookies must be fully set and firm before removing them from the oven.
Reality – Cookies will continue to firm up as they cool on the baking sheet. Remove them from the oven just before the desired level of doneness, as they will continue to cook slightly during the cooling process. This is known as the Maillard reaction.

Time and Temperature are Universal
Misconception – Many assume that the recommended baking time and temperature in a recipe will always yield perfectly baked cookies.
Reality – Every oven is different, and factors like altitude, cookie size, and dough temperature can affect baking times. It's important to use the recommended guidelines as a starting point and adjust as needed based on visual cues and personal preference. Learn how to use your oven wisely, with all the functions available. This can be a real puzzle to figure out, but once you’re set, you’ll be unstoppable.
Remember to consider factors beyond colour and firmness, and rely on visual cues, touch, and experience to confirm whether your cookies are done or need more time in the oven.
The Science (and Art) of Baking Cookies
Baking cookies is more than a few ingredients and a simple recipe – it’s a delicate balance of science and art. And by understanding how certain ingredients and cooking times influence texture, taste, and appearance, you’ll be able to make perfect cookies from here on out.
Every cookie recipe has its own set of ingredients, which is what makes them unique. But there are staple ingredients that are present in nearly every recipe. And the final outcome of the cookies depends on the concentration of these ingredients, stages of the mixing process, and baking temperatures.
Ingredients
Flour
Flour provides structure to your cookies. It contains proteins that form gluten when combined with liquid, giving cookies their desired texture. The protein content in flour, specifically gluten, affects the texture of the cookies. Higher protein content leads to a chewier texture, while lower protein content results in a more tender and delicate cookie. Different types of flour, such as bread flour or cake flour, can yield different textures & flavours than all-purpose flour. This has to be considered when buying your ingredients because the outcome might not be as you expected.
Sugar
Sugar adds sweetness and affects the texture and spread of cookies, helping them brown and adding moisture. Granulated sugar is the most commonly used sugar in cookie recipes, adding sweetness and texture. Brown sugar has a higher moisture content and molasses flavour, which makes cookies more chewy & tender. Powdered sugar, or confectioner's sugar, is often used for dusting or in frosting recipes, and isn’t typically recommended for cookies.
Fats
Fats like butter or oil add richness and flavour to cookies. They also contribute to the texture, making cookies tender or crispy depending on the type and amount used. Butter is the most common fat used in cookie recipes, and is a large contributor to the flavour, tenderness, and texture of a freshly baked cookie. Margarine or shortening can be used as a substitute for butter, but they may result in slightly different texture and flavour, and not always for the better. In some cases, you may use oils, like vegetable or coconut oil, to produce cookies with a solid texture.
Leavening Agents
Baking soda and baking powder are leavening agents that help cookies rise. They create air bubbles, resulting in a lighter texture. Baking soda requires an acidic ingredient (such as brown sugar, buttermilk, or molasses) to activate its leavening properties. Baking powder is a combination of baking soda, an acid, and a stabilizer. It is used in recipes that do not contain acidic ingredients.
Flavourings
Vanilla extract, spices, chocolate chips, nuts, and other ingredients add flavour and texture variations to cookies, depending on what the recipe calls for. Vanilla extract is one of the most popular flavourings added to cookie recipes because of its rich taste and pleasant aroma. Spices like cinnamon, nutmeg, or ginger can also improve the flavour profile, just as chocolate chips, nuts, dried fruits, or coconut flakes can be used to alter texture.

The Mixing Process
-
Creaming – Creaming butter and sugar together creates air pockets, helps cookies rise, and contributes to their soft texture. Try not to skip this step, for the most amazing cookies ever!
-
Beating Eggs – Eggs provide structure, moisture, and richness to cookies. Beating them well ensures proper distribution throughout the dough. And it’s so fun to do!
-
Adding Dry Ingredients – Gradually adding dry ingredients to the wet mixture ensures even distribution and prevents overmixing, which will result in dry, tough cookies. Overmixing can be very damaging in a recipe, especially cakes or muffins. You’re mostly safe when making cookies. But don’t overmix.
The Role of Temperature
When most people think of temperature as it relates to baking cookies, they only think about the oven temperature. But that’s just 1 of 2 temperatures at play. Of course, oven temperature is critical, as different recipes require different temperatures. But dough temperature is a critical piece of a perfect cookie recipe that many ignore. Refrigerating cookie dough before baking helps solidify the fats, preventing excessive spreading. You might be tempted to cook them right away; we strongly suggest you wait the recommended refrigerated time before you turn on the oven. You’ll get the most tasty cookies, with the best texture ever!
The Maillard Reaction
As much of an art as baking is, there is still a science element to it all – The Maillard Reaction. This is a chemical reaction that occurs between amino acids and reducing sugars when exposed to heat. It’s responsible for the browning and flavour development in cookies, giving them that irresistible aroma and taste.
Baking cookies is a skill. And just as with any other skill, it will take time to perfect your craft. But as you learn more about various ingredients, baking techniques, and cooking times, you’ll quickly learn to know if your cookies are done just by looking at them. You can also soften them the next day if they don't turn out perfectly.
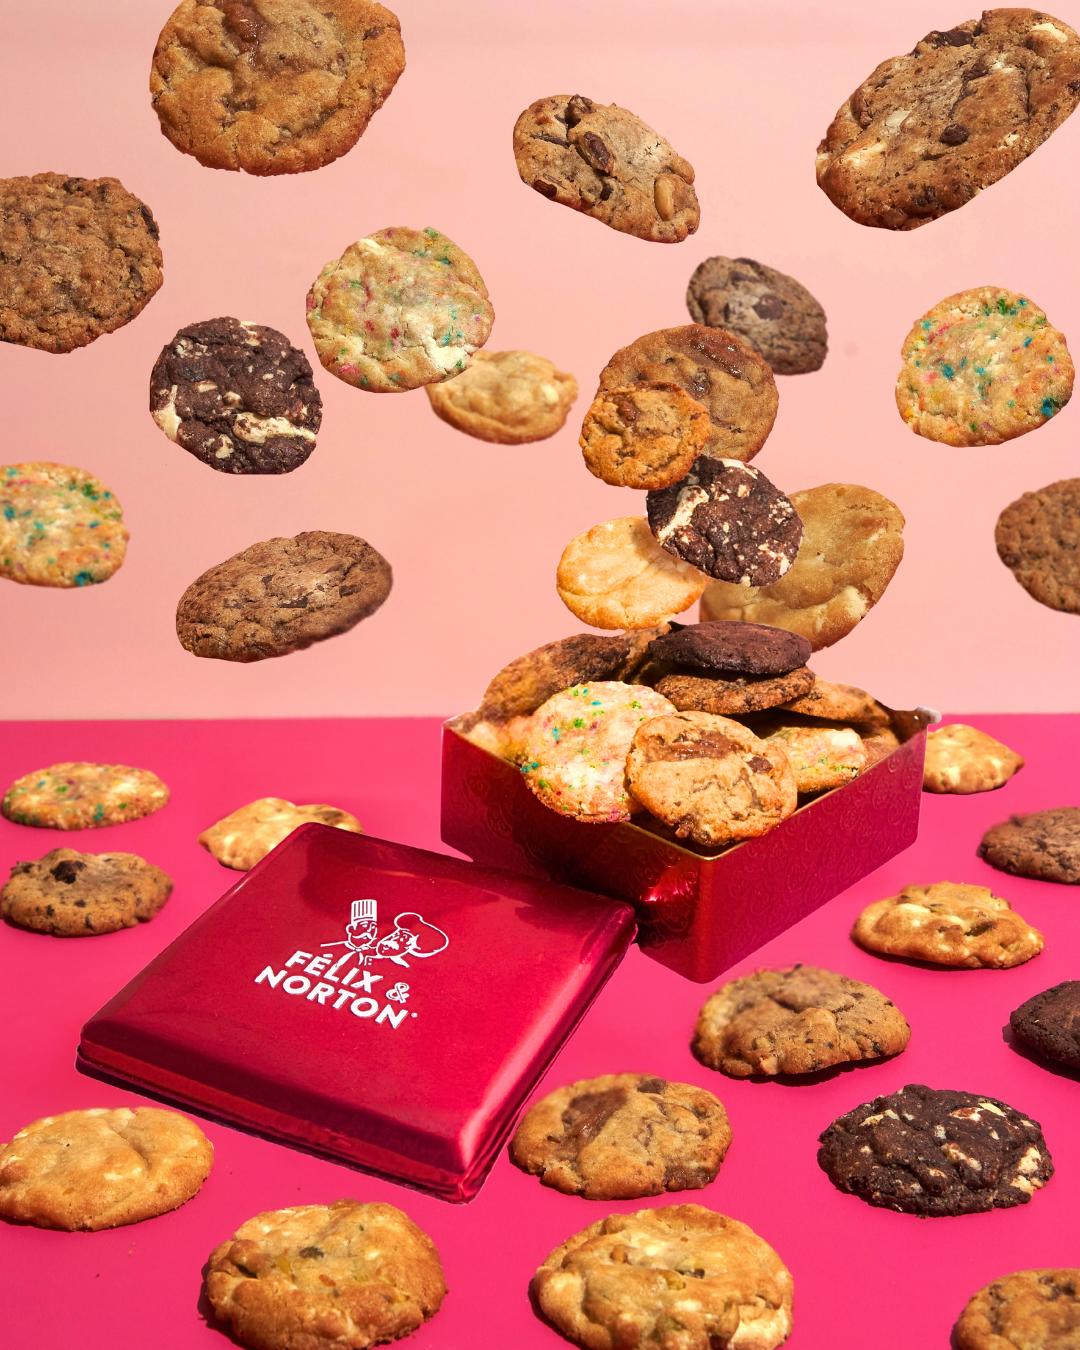
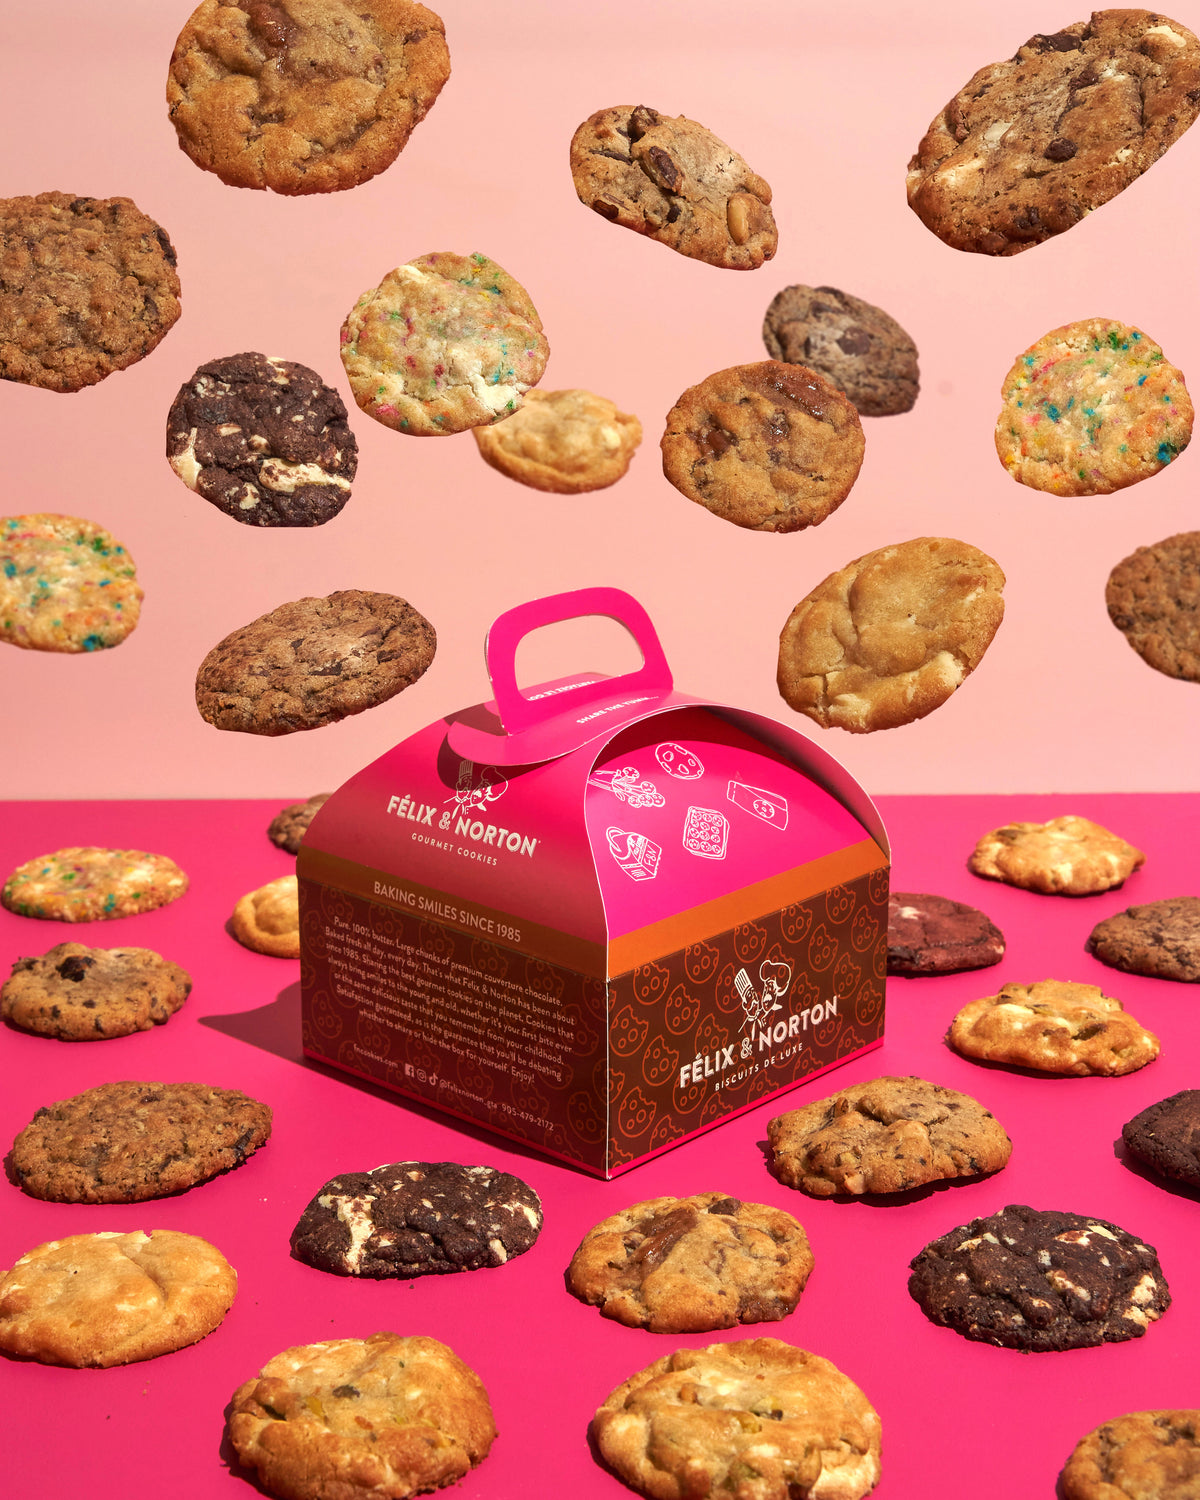
In the meantime, if you’re feeling lazy, just order a box of Félix & Norton’s Freshly-Baked Cookies for the whole family to enjoy. If you want to enjoy the smell of cookies in the oven, we also have a wide selection of delicious Ready-to-Bake gourmet cookies, made with love with 100% natural ingredients. A homemade feel, without the fuss!
Ready to bake your next perfect batch?